Bench projects & guides
The Work Bench.
Where the designs get cut. Stones in progress, lessons from the dop, and the bench guides — dopping, soldering, crushed-stone inlay — written the way they're actually used.
Running feature
On the Rocks.
Gem Beam designs, in progress at the bench. Each stone gets its story here — the cuts, the fixes, the lessons — from rough to finished.
- Beacon Round — first completed Gem Beam design. Cut on the Vevor in synthetic ruby, finished October 6, 2026. Done.
- Firestorm Round — first completed Firestorm. Cut on the Vevor in glass, finished October 15, 2026. Done.
On the Rocks · entry one
The Vevor Beacon.
One design, two machines — this is the first half. The Beacon Round cut on the Vevor faceting machine, angles on a sticky note, meets by eyeball.
Machine: Vevor faceting machine. Material: synthetic ruby (second attempt; first attempt in synthetic sapphire scrapped after P2/girdle trouble).
Pavilion
P1 41.0° mains, P2 44.0° breaks. Girdle meets wouldn't close — stone couldn't go smaller.
Decision: skip the separate 90° girdle; level what we can, transfer, and cut the crown down to meet the pavilion. The meet line is the girdle.
Transfer
Lesson learned: heat the wax on the receiving dop, not the stone. Warm wax grips a cool stone fine — heating the stone risks cracks (likely what cracked this stone during dopping) and drops off the old dop.
Crown
Cutting order from the girdle up: C1 upper girdles 43.0° → C2 bezels 39.0° → C3 stars 24.0° → table 52%.
(Schedule was relabeled Oct 6 — it listed C1/C3 backwards.)
Finished stone
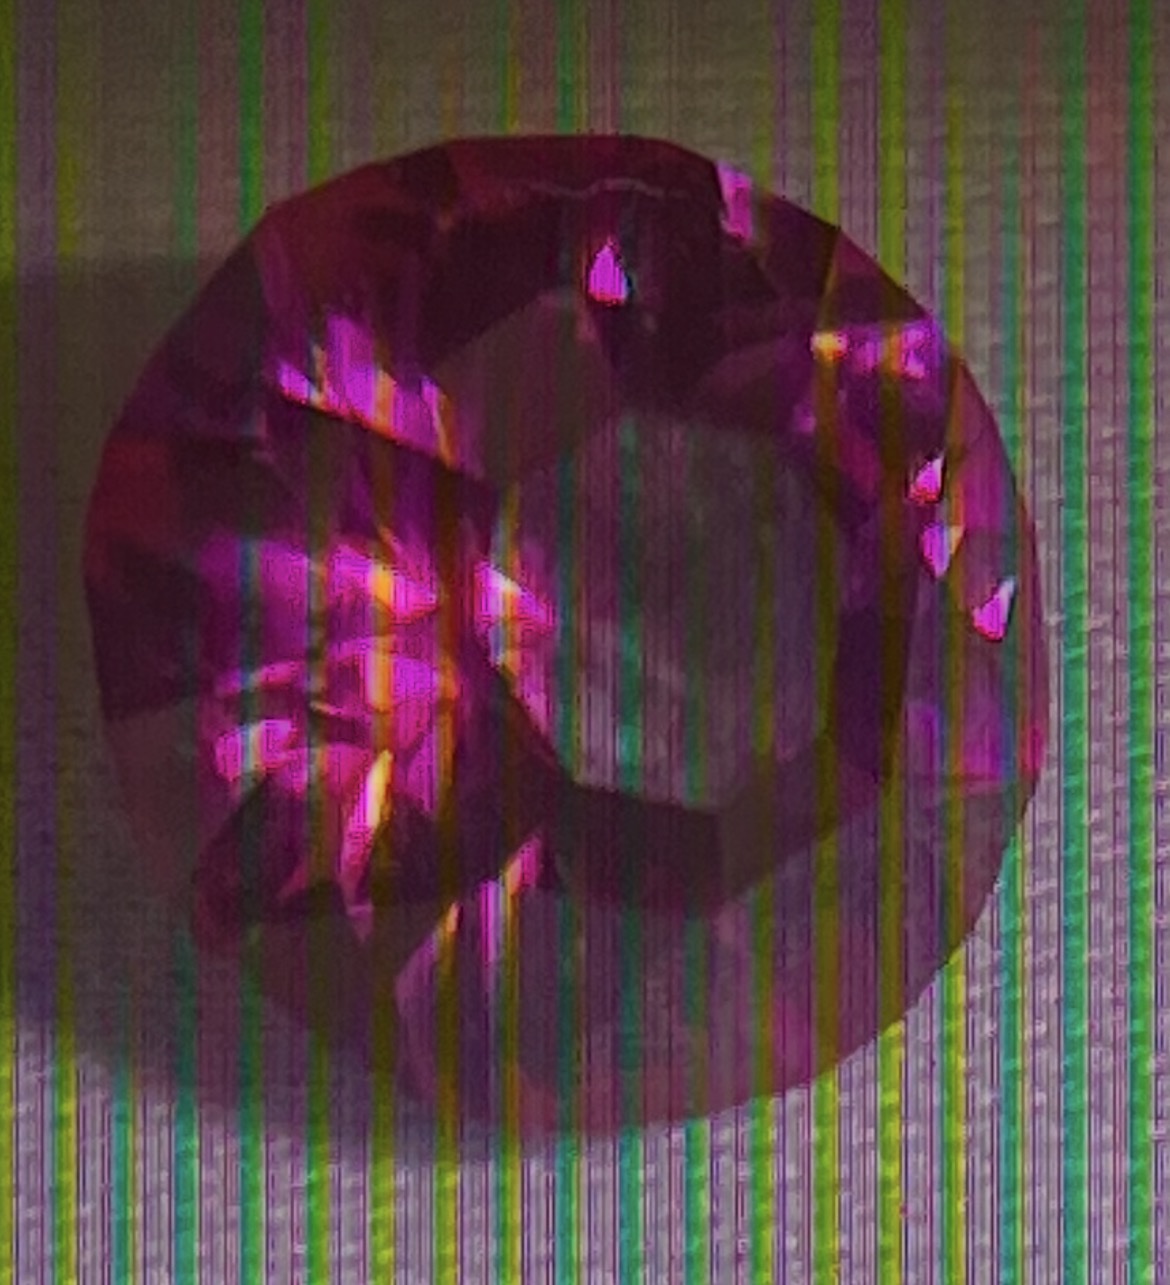
Material confirmed 2026-10-07: 4.45 ct synthetic ruby — a free charging piece from the cut kit, not purchased rough. Cut on the Vevor, October 6, 2026.
On the Rocks · entry two
The First Firestorm.
The Firestorm Round's first cut — green glass on the Vevor, finished October 15, 2026.
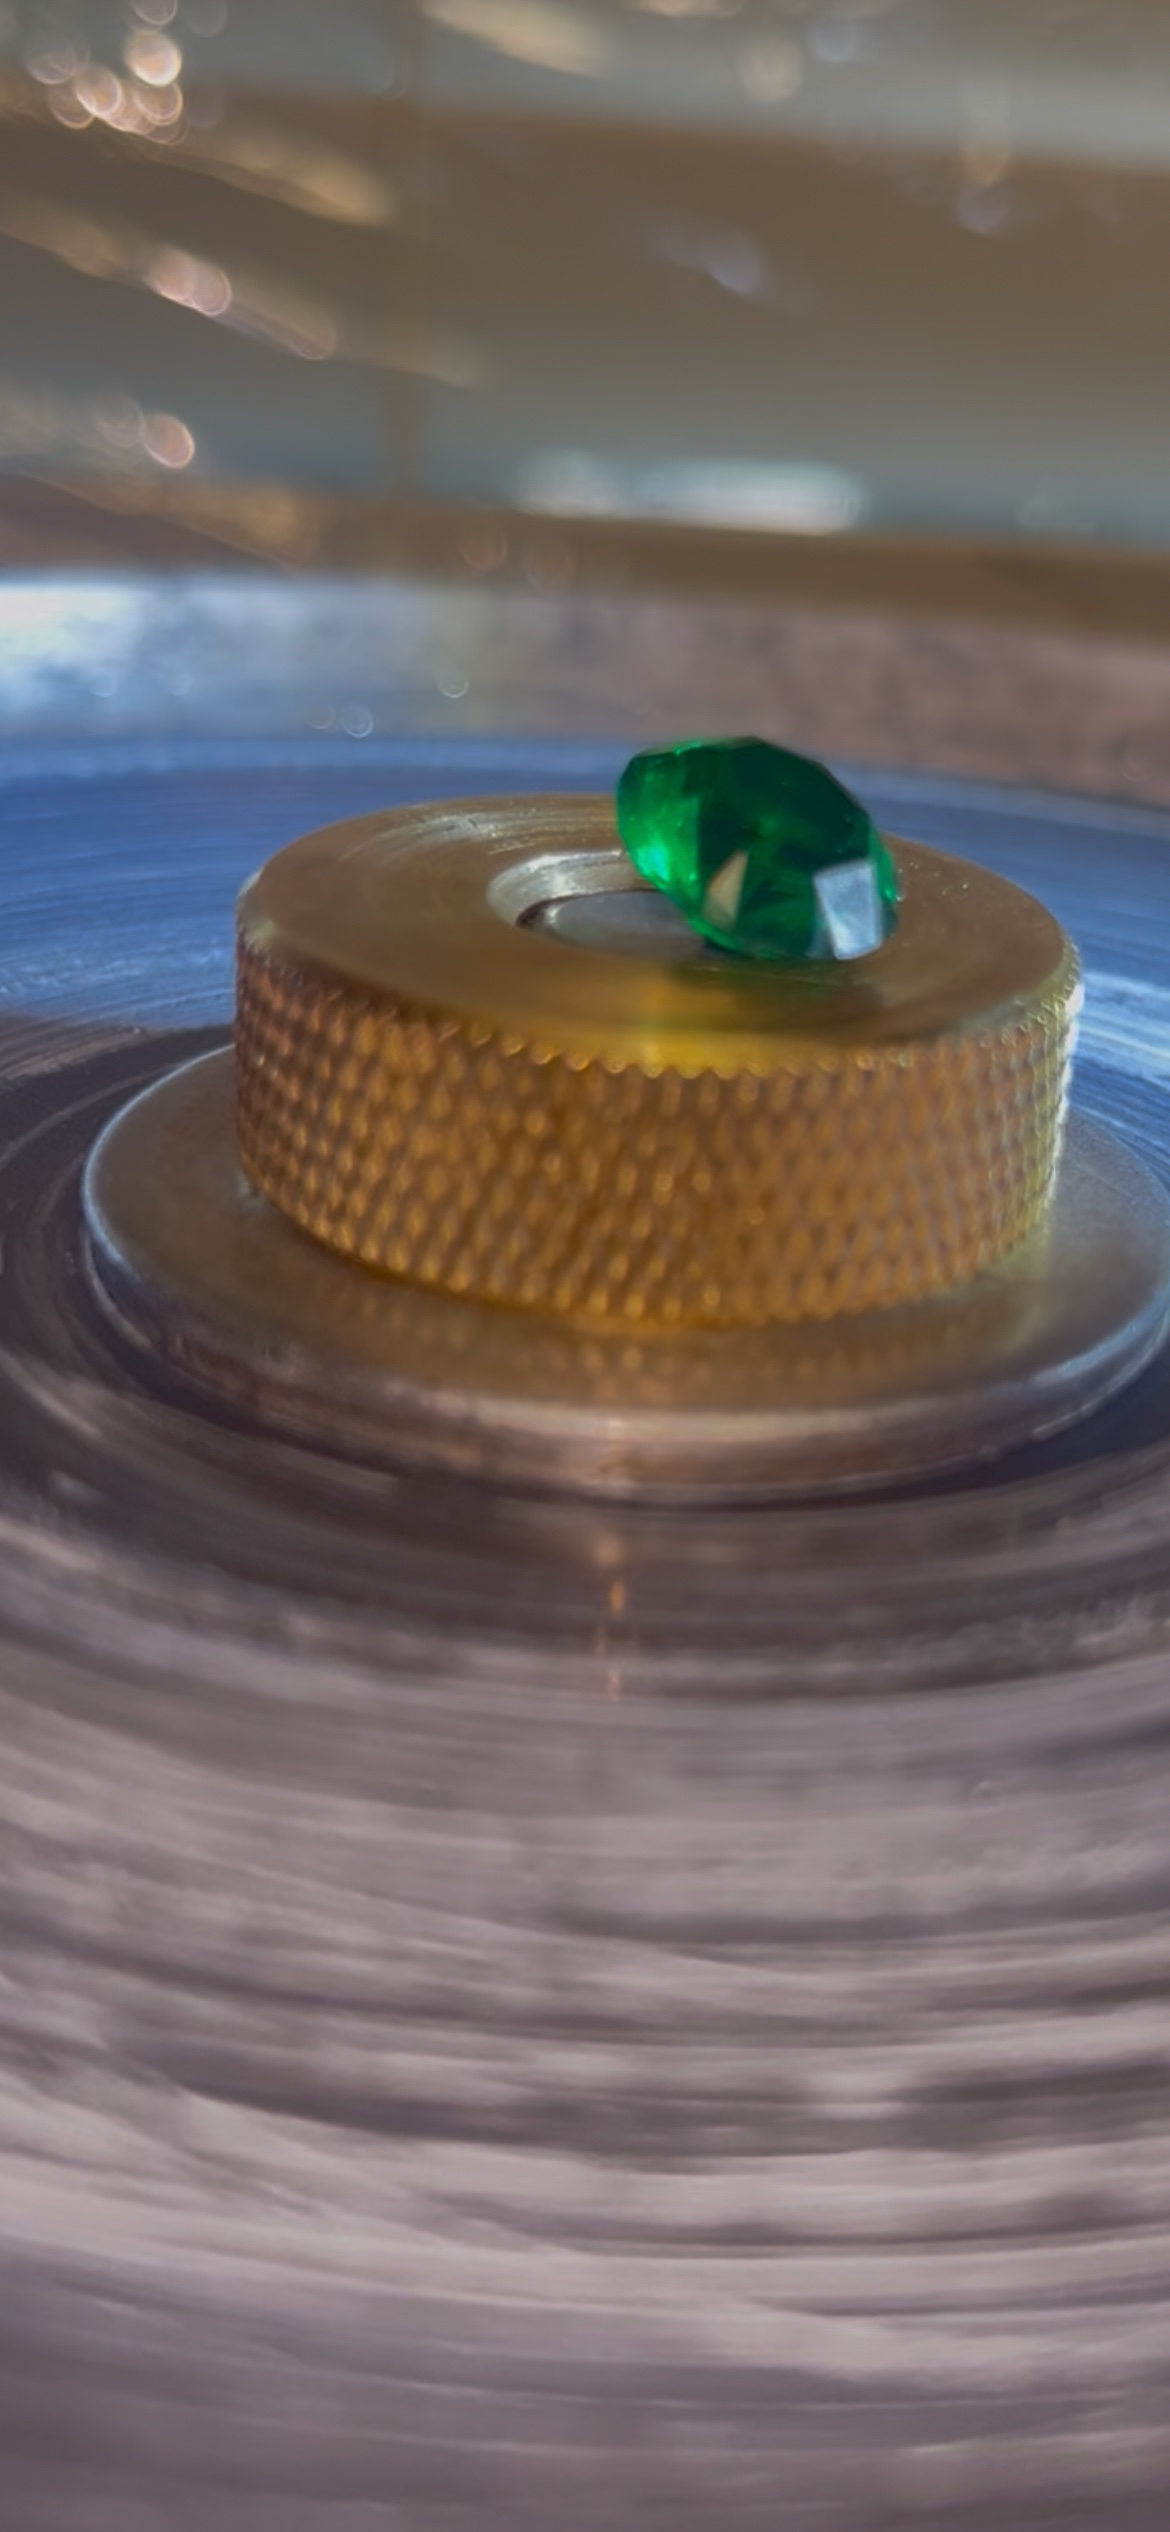
Machine: Vevor faceting machine. Material: green glass (practice run; the design is spec'd for RI 1.62–1.76).
Pavilion
Bench-revised October 14: P1 42.0° mains → P2 44.5° breaks (16, girdle-down) → P3 39.0° (16, culet-up). The old P2 became P3; the new P2 reshapes the culet. Cut P3 first to the girdle, then P2 at the culet, stopping where P2's upper edge meets P3's points.
Crown
C1 43.0° kites (8) → C2 45.0° upper girdles (16, small triangles at the edge) → C3 26.0° stars (8) → table.
C1 polished on the BATT, everything else on the Darkside with cerium oxide. C3 polished easily; the sixteen little C2s did not cooperate — the Vevor's limits showing.
Table
Bench call: cut to 50%, not the designed 53%. The star octagon was getting thin at 53% — the stone said 50%. No window through the table; the pavilion returns light as designed. The steep kites throw big side flashes — dispersion into motion, exactly what the design promised.
Dopping
Wax only, no superglue this time. Gentle heat on the dop to release, acetone soak to clean the wax off the stone.
On the Rocks · entry three
The Ultra Tec Beacon.
Coming December 2026, when the Ultra Tec VL arrives. Same Beacon Round design, same material if possible — the honest comparison. Meet quality, time per stone, eyeballing vs. stops, polish differences — all of it gets written up here.
Bench guide
Crushed-stone inlay ring.
Black tourmaline (schorl) crushed and set into a ring channel.
The golden rule: build it in thin layers, slightly proud. Thin layers cure fully and bond hard; a deep single pour cures rubbery and pops out. Mix chips with powder — pure powder looks flat, chips give depth.
Stone prep
Crush the schorl in a bag — hammer or wrapped-pliers, controlled taps. You want a mix: small chips (~1–2mm) plus fines to fill between them.
Rinse off the dust and let it dry fully — dust-only layers cure weak.
Mask + eye protection when crushing. Stone dust is not a breathing project.
Channel prep
Scuff the inside of the groove lightly (needle file or coarse paper) — glue needs tooth, not polish.
Degrease with alcohol or acetone and let it evaporate. Oils kill the bond.
Build the inlay
Thin layer of glue in the channel — thin CA for fast build-up, or 2-part epoxy for the strongest fill. No deep single pours, especially epoxy.
Sprinkle stone over the glue, press it lightly into place with a fingertip or flat tool.
Repeat: glue → stone → press, until the channel is packed slightly proud of the surface. Proud on purpose — you'll sand it down.
Cure fully. CA sets fast (accelerator optional); epoxy needs its full cure time (usually 24h). Rushing the cure is how inlays loosen.
Finish
Sand flush: start ~220–400 grit, work up to 1000+, wet. Sand the stone and band together — tungsten is brutally hard, so keep the pressure even and don't gouge the gold-tone channel walls.
Polish: 2000+ grit, then polishing compound on the stone; metal polish on the band. The schorl will take a bright, glassy polish (it's a 7–7.5).
Black in the gold channel is the classic high-contrast combo — let it be proud and glossy, don't matte it down.
Trouble signs
Inlay crumbles when sanding → layer didn't cure fully, or too much powder and not enough glue/chips. Rebuild that section.
Epoxy looks gummy or soft → poured too deep in one go. Scrape it out and rebuild in thin layers.
Gaps at the channel walls → stone wasn't packed against the edges. Fill voids with glue + fines and re-sand.
Band gets scratched while sanding → back down a grit and keep the block flat; finish with fine grits and metal polish.
Bench guide
Wax dopping & transfer.
Dop prep, wax dopping, and the transfer procedure.
The golden rule: heat the wax, never the stone. Warm wax flows and grips a cool stone mechanically. Heating the stone risks thermal shock — that's what cracks stones.
Dopping with wax
Key the dop — roughen the dop end (file or score it) so the wax has something to bite.
Warm the wax on the dop with a flame until soft and tacky — not runny, not smoking. Smoking means too hot; overheated wax goes brittle and grips worse.
Seat the stone cool (room temperature) into the soft wax, center it, then let the wax cool and harden completely before cutting. Wax creeps while warm — cutting early lets the stone shift.
To release: warm the DOP shaft, not the stone. Gentle heat softens the wax and it slides off. Clean residue with alcohol.
Transfer (pavilion done → crown)
The finished pavilion stays on the old dop. The stone stays cool the whole time.
Key and wax the receiving dop; warm its wax soft.
Line the dops up end-to-end in the transfer jig (girdle to girdle), press the soft-wax dop onto the crown side, and hold alignment until the wax hardens.
Warm the OLD dop gently to release it. The stone never gets hot.
Check the transfer before cutting — sight down the stone and make sure it looks centered and straight. Catching a crooked transfer now saves a stone.
Trouble signs
Stone shifts mid-cut → wax wasn't fully cool, or too little wax / too smooth a dop.
Wax smokes or chars → back the flame off; let it cool a touch before seating the stone.
Can't see the stone through the wax → normal. Align by the girdle line and the table, not by looking through it.
Bench guide
Brass wire-soldering.
Soldering the wire halo and basket joints on the brass prototype.
The golden rule: solder follows heat, not the flame. Heat the wire away from the joint and sweep toward it — the solder gets pulled into the joint. A flame parked on the solder just makes it slump and ball up.
Setup
Sand every joint bright before you start — fresh metal, no exceptions. The self-pickling solder forgives light oxide, not scale or old flux crust.
Fit the joint tight. Wire solder won't bridge gaps; if you can see daylight through it, re-fit.
Flux the joint — thin brush coat on clean brass. It'll bubble, then go clear and glassy. Clear and glassy = ready for solder.
Soldering a joint
Heat the wire, not the joint. Hold the butane flame on the brass a few millimeters away from the joint and sweep it slowly toward the joint.
Feed the 26ga wire to the hot edge of the joint — not into the flame. Touch, let it wick in, pull back. 26ga is thin: feed more wire per joint than you'd expect.
Watch it flow, then get the flame off. Extra Easy flows well below brass's melting range — lingering overheats the brass (zinc boils off, firescale, pitting).
One joint at a time. Let each cool before the next; reheating a finished joint to do its neighbor can re-flow it.
Trouble signs
Solder balls up and won't wet → metal wasn't clean enough, or the flux is spent. Stop: cool, re-sand bright, re-flux, restart the joint. More heat won't fix it.
Flux turns black and crusty instead of clear → oxidation under the flux. Same fix: cool, sand bright, start over.
Joint moves while soldering → it wasn't mechanically secure. Wire joints need to sit still — bind, clamp, or pin them before heat.
Brass glows bright red and the solder still won't flow → stop. The flux is dead and the joint's oxidized underneath. Cool it down and restart — don't chase it with more heat.
White crusty residue after → that's flux glass. It comes off in warm water (or pickle later); don't sand it off the brass and scratch your prototype.
Ventilation
Brass is zinc-heavy — overheating boils off zinc, and zinc fumes are the ones that give you metal-fume fever. Work with air moving (fan behind you, open door), and if you taste metal or feel flu-ish, step away. Keep the flame moving and you won't get there.
Private
Bench notes.
Working notes from the bench — variants, corrections, and cuts in progress, kept off the public pages until they're finished designs. Password required.
Open the bench notes →